


Our 3D wall panels come in a variety of textures, designs, patterns and sizes, how to install these wall panels properly is a tough task. Here we list the detailed 3D wall panel installation guide to help you install your 3D wall panels properly.
Step 1 Pre-work with plaster board or plywood is recommended before the construction. Please remove wallpapers on the walls before the construction.
Step 2 Circular saw can be used for cutting.
Step 3 Apply nail free glue on the back of the wall panel.
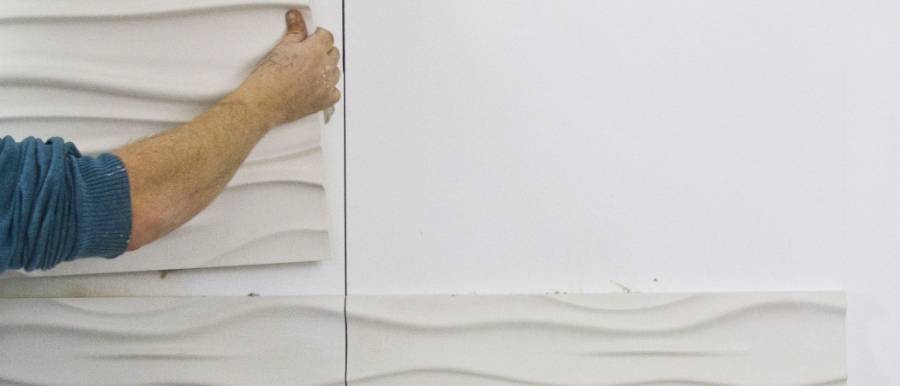
Step 4 Wall panel can be installed in both horizontal and vertical direction. Apply air-tacker on the edge of the tongue to hide the pin-marks.
Step 5 For corner, combine the two grooves.
Step 6 Coordinating mouldings can be used for clean and nice finish.


